

The Master Switch


The Master Switch
If you want to improve your headphones' audio quality, it’s easy to get overwhelmed. In this guide, our goal is to answer one simple question: how can you improve your headphones' sound quality in a simple, affordable way? Fortunately, there are four quick tricks to improve your headphone sound, and you can either choose to do some or all of them - regardless of your choice, it'll make a major difference.
We don't mean by curbing your addiction to Taylor Swift. If want to bump Swifty all day, that's fine by us. What we're talking about is making T-Swizzle or whoever else you listen to, sound as good as possible.
If you spend enough time reading about or working with audio, you’ll come across a particular term: signal chain. Essentially, this refers to the path that the audio takes from where it’s created to where it enters your ears. The signal chain is comprised of the software and hardware that converts the audio into sound waves that you can actually hear. If you want decent headphone audio, you have to make sure you have a strong signal chain. That means that every link in the chain – every bit of equipment you use – has to be of reasonable quality. That includes the actual music you’re playing. We’re not talking about the quality of the musicians or bands; what you listen to doesn’t matter, but how you listen to it does. If you’re playing music from a terrible source, then the greatest signal chain in the world won’t help you. If you want to create a great audio experience in your headphones, it all starts with how you play your music.
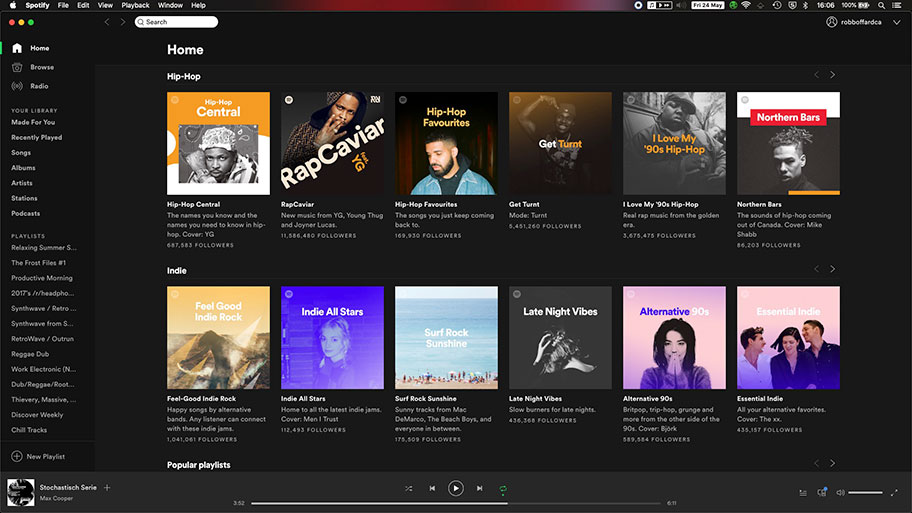
We would love to tell you that the only way to do this is to play your music off vinyl or CD – those are, quite frankly, superior audio sources to most digital ones. We’re not trying to be elitist about this – it’s just the truth. Unfortunately (or fortunately, depending on how pretentious you think we’re being) most listening these days is done from digital files, either streamed or saved locally. Most of it is also done from files that are highly compressed, sacrificing audio quality for space, or streamed down a Wi-Fi network via a music service like Spotify or Tidal.
Truthfully, you are better than this. We are all better than this. Getting reasonable quality audio isn’t difficult. You can do one of two things: either start importing your music without compressing it to a low-quality format - the import options in any music player should allow you to do this - or start listening to high-quality streaming. The easiest way to do this is by signing up for a paid version of Spotify or Tidal. They’re priced reasonably and offer various levels of streaming quality, all of which are quite good.
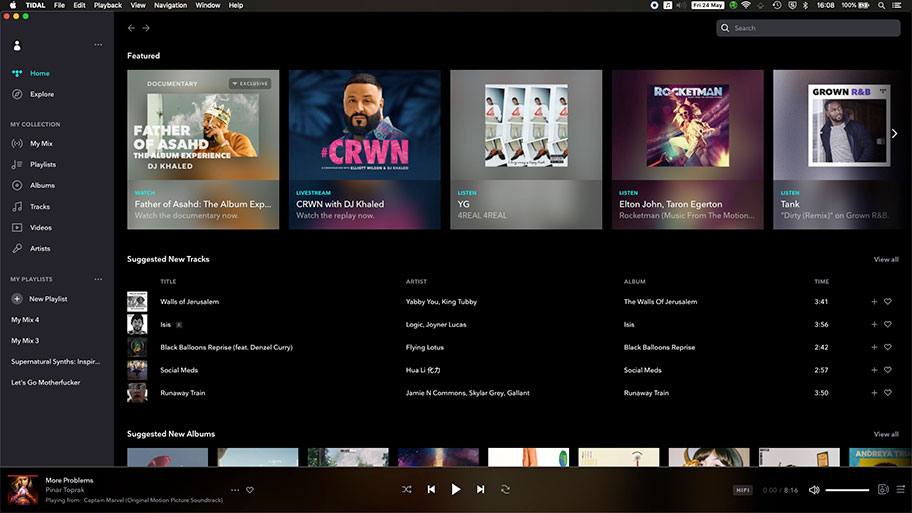
Tidal is arguably the best, in terms of sound quality, if not useability. At its highest tier, called Tidal HiFi, it offers a quality up to 24-bit, 96 kHz FLAC audio, which is one of the best. Spotify, on the other hand, is a bit cheaper, and while it doesn't offer audio quality that's as good as Tidal, it's still solid, at 320kbps Ogg Vorbis for Premium users. There are other services too, like Apple Music, although they're nowhere near as good as Tidal or Spotify, in our opinion. If what we just said was total gobbledegook, we have a full explainer on file types and sizes here, and why they matter.
You don’t actually need to go too in-depth when it comes to file types, not when we can easily summarize it like this: Tidal is more expensive but offers the highest streaming audio quality on the planet, while Spotify is almost as good while costing slightly less. Either will be fine for most people, and the differences are only noticeable if you're discerning of sound quality. There are other services too, like Deezer and Qobuz, both of which offer high resolution sound.

The next piece in your signal chain is something you probably use every day, but never noticed: your Digital-to-Analog Converter (DAC). See, before the sound goes into your ears, it exists in digital form as the ones and zeros that make up an audio file. Very obviously, there has to be something that converts those ones and zeros into something you can actually hear, and that’s what a DAC is. Every computer, laptop, phone, or tablet around right now has its own DAC. It’s what enables them to make any noise in the first place.
The problem is, even in expensive phones or laptops, the built-in DAC just isn’t good. It’ll do the job of converting audio from digital to analog, but it’s not going to blow the doors off. It surely won’t be impressive. If you want to increase your headphone audio quality, the next step is to outsource the DAC. You’ll want to bypass the one in your phone or laptop, and have it take place in a specialized bit of external hardware.
For the most part, this takes the form of a small, discrete box that attaches via USB. While it’s possible to get DACs that are seriously large and cost thousands of dollars, it’s far more common to see smaller units on the market for much less, like Schiit Modi. Their controls tend to be relatively simple, often consisting of nothing more than an on/off switch and gain knob, with a few different ports that you can plug into. Usually, but not always, you can connect your headphones directly to these, and you can always connect them to an amplifier, which we’ll go into below.
The bottom line is this: a DAC is a simple, plug-and-play piece of equipment that instantly increases your audio quality. Connect it and it works. They’re often affordable, and if you’re seriously on a budget, try the tiny FiiO K1. It’s perfect for smartphones or tablets, and is small and light enough to slip into a pocket.
_0.jpg)
Upgrading to high resolution audio and adding a DAC will noticeably sharpen your signal chain, but running your audio through an amplifier will give you an immediate, noticeable, even visceral upgrade to your sound. Amps are extremely cool, and if you’re interested, you can see a roundup of this year’s best here.
Generally speaking, an amplifier does two things. It boosts the overall volume of your audio, allowing you to get good clarity at lower volumes as well as listen on high-end headphones, and it colors and deepens the sound, improving it in ways that are utterly addictive. Amplifier lore and legend goes deep, and audiophiles can spend decades figuring out the best ones.
There are a couple of things you need to know when choosing an amplifier. The first is that they come in two flavors: tube and solid state. Tube/solid state hybrids do exist, but for simplicity, let’s focus on those two. Tube amps run the audio signal through a glass vacuum tube, burning electrons off a special plate to transmit the sound. In doing so, they give the audio a characteristic quality: fat, warm, even slightly distorted. Also, as we’ve said, immensely addictive. Tube amps can be expensive and they’re also known to be temperamental, and definitely aren’t to everyone’s taste, which is why solid-state amps are so popular.
Solid-state amps don’t quite have the same warmth as tube amps, but make up for it with a high level of precision and accuracy. They are easy to operate, virtually unbreakable, and tend to be much less expensive. Right now, the best solid-state amp on the market - the best headphone amplifier anywhere, as far as we’re concerned - is the little Schiit Audio Magni.
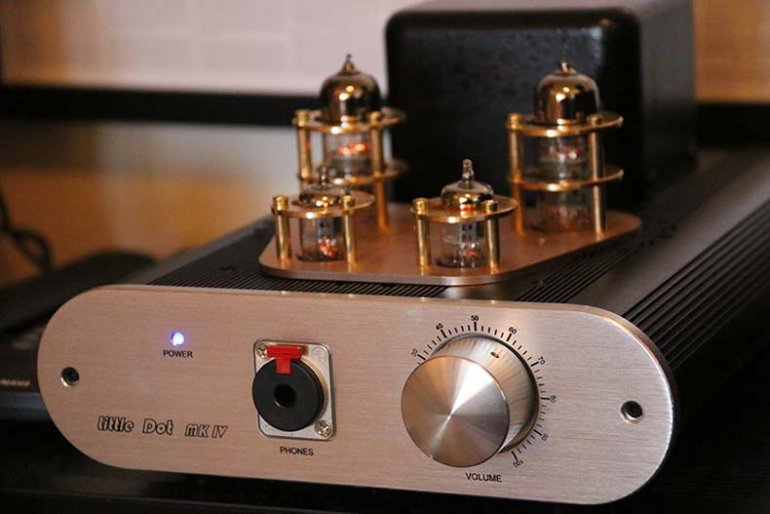
One other thing worth knowing about amps. Every amplifier circuit has two main components: a preamplifier, and a power amplifier. Every audio signal, even after it’s gone through a DAC, is extremely low powered, and part of the job of the amplifier circuit is to raise it to a level you can actually hear – to amplify it. A preamplifier handles switching between audio sources and boosts the current signal’s gain enough for the amplifier to boost its voltage gain. Please don’t make us explain what current gain and voltage gain are. It involves a lot of maths and electronics diagrams, and frankly, neither you nor we care that much. All you need to know is that you need the two to work together in order to produce sound of a sufficient volume to listen to.
The good news is, you don’t have to go out and buy two separate pieces of equipment. Most amplifiers – certainly the ones you’ll be looking at to increase your headphone audio quality – are what are known as integrated amplifiers. They contain both preamplifier and power amplifier circuitry. You can, if you want, construct a system with separate pre and power amps, which can be handy if you want to switch out components later on. But for most people, integrated amplifiers are perfectly fine.
(You might reasonably ask how you match an amp to your existing headphones, or vice versa. We’ll go into that in the section below.)
You can go very deep on headphones if you want. You can even spend thousands of dollars on a beautiful, enormous, open-back monster like the AUDEZE LCDX. We’d all love to do that. But in reality, most people will be quite happy with simply upgrading their pair of headphones to the next best thing. And if you pick right, you can get a decent pair for a reasonable price. You can see some of them in our roundup of the best high-end headphones of this year - you’d be surprised how affordable some of them are.
As with amplifiers, there are a few key things you need to know in order to pick the right pair for you. The first is the difference between closed-back and open-back headphones. This refers to the outside of the headphone cups. Closed-back models - like this pair of MEZE 99 Classics (full review here) - can sometimes sound a little boxy and closed in, but they don’t have much ‘bleed’. When your headphones bleed, like in open-backs, anyone around you can hear what you’re listening to, especially at relatively high volumes. Closed-backs are also cheaper than open-backs, which have an airiness and depth to them that other models lack, thanks to the interaction of air and the headphone driver. However, this airiness also means that your sound is escaping into the air and to the people around you.
It’s also worth knowing the differences in driver types. A driver is, essentially, the part of the speaker inside each headphone cup that makes the sound. In short, dynamic drivers are the cheapest and most common, planar magnetic drivers sound better but are bigger and more expensive, and electrostatic drivers cost insane amounts of money and require specialised amps to run them.
It also might make sense to choose a pair of wireless headphones. If you do a lot of travel, or you’re on a commute, these might be more worthwhile. These types of headphones will almost always be closed-back, and in the case of noise cancelling, will come with their own built-in amplifier. In this case, you don’t need to worry about separate amps or DACs. Right now, we think the best pair of wireless headphones are the Sony WH-1000XM5.
It’s difficult to do a cheat sheet for choosing headphones, but you can adhere to some basic principles. Got a little bit of money to spend, and do most of your listening at a desk? Get a big pair of open-backs. On a commute: closed-back, dynamic driver, wireless, or noise-canceling. Every day listening in a home or office, where there are other people around: closed-back, dynamic driver, regular wired. You get the idea.
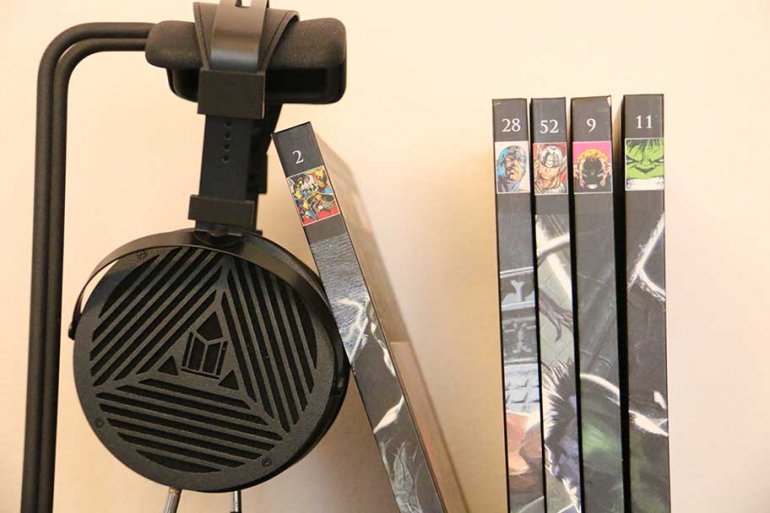
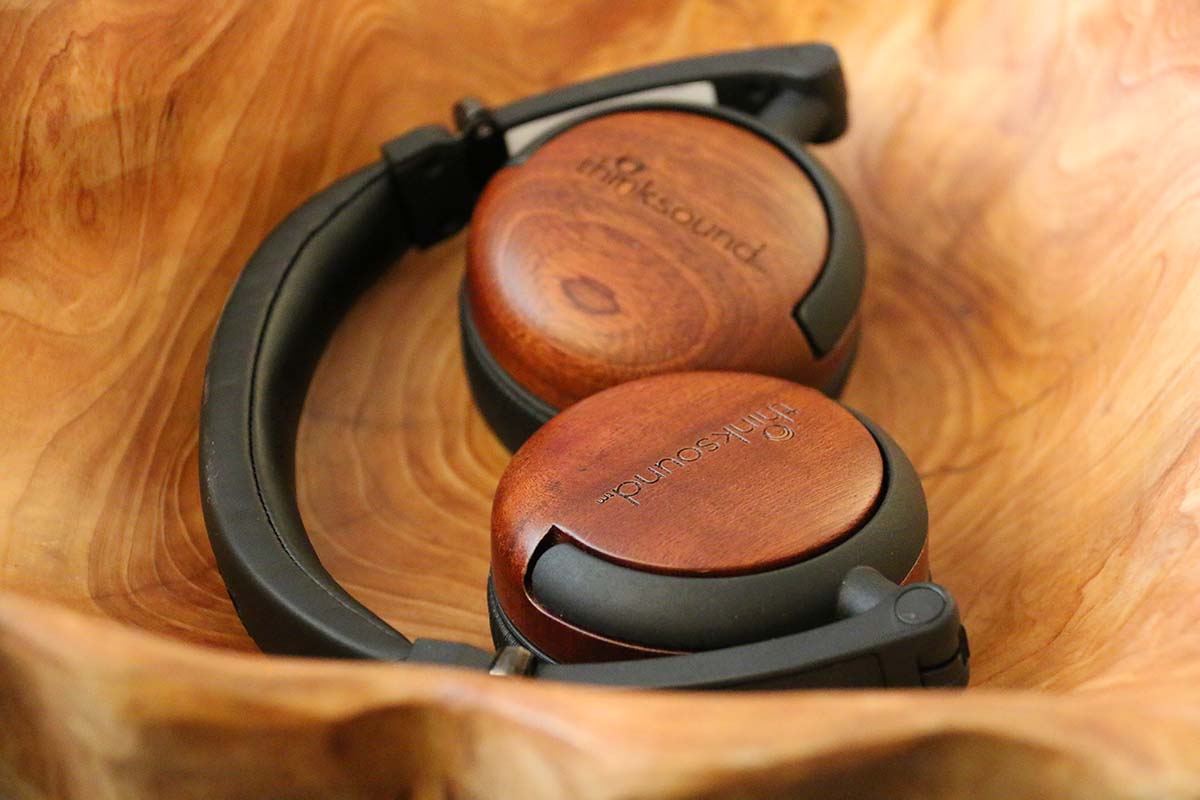
You might think you have to spend the earth to get a decent pair of headphones – or at least, a pair that will appreciably improve your sound. But that’s not the case. We’ll talk about them a little more when we detail our example signal chain in the section below, but for our money, you could do worse than start with something like the Thinksound ov21. They are a pair of beautiful, closed-back, dynamic driver headphones that are exceptionally affordable. The sound quality is excellent, and they happily adapt to most setups.
If you want to experience the world of planar magnetic headphones, which are a special type of drivers that offer broad, airy, widely-spaced sound, you can get a solid pair of Monolith M1060s. That's them in the picture above, and they go for around $300.
Speaking of which, let’s talk about how to match headphones to amplifiers. This is much less complicated than you think, even though it involves a term called impedance. This is the amount of electrical resistance a piece of equipment has, and it’s expressed in ohms (Ω). Matching a pair of headphones to an amplifier is as simple as finding out the impedance of the headphones, which will be both on the manufacturers website and in the documentation the headphones come with, and checking if an amplifier can handle it. So, taking the above Thinksound On2 as an example, those headphones have an impedance of 50Ω. Most amps (which, similarly, list this sort of thing on the manufacturer website and in their manuals) will give a range of impedances that support.
Let’s say you’re trying to pair the Thinksound with a Schiit Audio Magni+ amplifier. According to Schiit’s website, that amp supports anything from 16-600Ω – so plugging a pair of Thinksound On2s into it will be perfectly fine. Different impedances give different output power, and there’s a bit more to it than we’ve stated here, but those are the basics and enough for most people to know.
You might think we’re yanking your chain (sorry, couldn’t resist) but it’s very easy to put together a solid signal chain for an affordable price. We’ll show you.
To start with, we’re using Spotify Premium. That’s the first part of our signal chain, and although it’s nowhere near as good as a completely uncompressed audio file, or physical media like vinyl or CD, it will more than happily do the job here. The cost is $15 per month.
As we’re running this off our computer, we’ve connected it directly to our external DAC (digital to analog convertor) using a basic USB cable. Getting our computer to recognize the DAC is a simple as changing the audio output in the settings menu – in this case, our Mac has immediately recognized our chosen DAC, a Schiit Modi+. This is an incredibly simple, usable DAC with great sound, that is relatively cheap at just over $150.
From here, we connect it directly to our amplifier, the cute FiiO K3 at about $110. We’re running an RCA cable (around $9) into it from the Optoma. It’s entirely possible to get amps that incorporate DACs, but we’re going to stick with separate amp and DAC for now based on personal preference.
From there, we simply use a 6.3mm adapter to connect our Grado SR80 to the headphone output of the Bravo. And boom: powerful, rich sound, for less than $400. There are plenty of ways to slim that price down, too. As a general rule, the more you spend, the higher quality audio you are likely to get, but even a very basic setup will be light years ahead of a simple connection to your laptop’s or phone’s headphone jack.
The total equipment cost for this setup is less than $400. That's it. You'll be paying $15 per month for Spotify, but it's worth it. A combo like this will instantly give you better sound, enhancing your audio quality, and make your experience a billion times better. And this is just one example - you can go second-hand, or find alternative, cheaper options all over this site. The only downside is that you might get addicted...
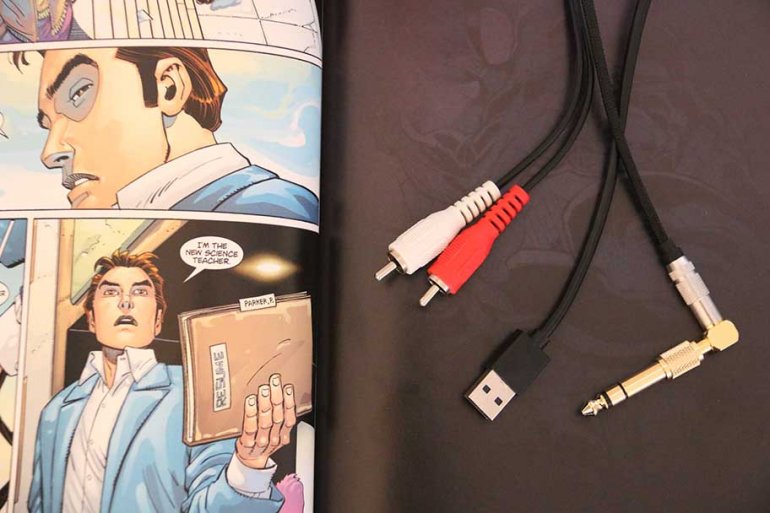
Here is where we annoy every audiophile in existence. After extensive testing, and getting the opinions of just about everybody we’ve ever spoken to, we’ve come to the conclusion that for 99% of people, cables don’t matter. Obviously you still need them – you aren't, after all, going to be connecting things without them – but you don’t need to spend hundreds of dollars on cables. You certainly can: there are plenty of high end cables to choose from, like this Nordost Heimdall 2. But unless you have ears that can hear a twig break from two miles away, you aren’t going to notice a significant difference.
We are aware that this is controversial – please don’t call us idiots in the comments. We just think that it’s far more effective to invest efforts in other elements of the signal chain first, and that most inexpensive cables are of a high enough standard that they will be sufficient for anybody but the most hard-core audiophile. For reference, here are the cables you’ll need to complete a basic signal chain, like the one we’ve detailed above. Most of these will actually come with your equipment, but you may need to buy some individually. This might vary depending on your setup, but this is a good general list.
Remember: outside of the RCA cable, there's absolutely no reason to buy your own versions of these, which will come included with the DAC, amp, or headphones.